When a storm hits, the damage it leaves behind can have a long-lasting effect on your home. Especially if you wait to address it.
As Cleveland’s top remodeling contractors, we handle a lot of storm damage. And we understand its challenges. In this guide, we’ll walk you through 6 easy steps to recover quickly and safely. From staying safe to planning for the future, we’ve made it simple.
Cleveland’s weather can be tough, but so are you! How well-prepared do you think you are to handle storm damage? Let’s find out as we get started together.
Table of Contents
STEP 1: Safety First
Your safety and the safety of your loved ones come first. During the storm, keep everyone in your home away from windows and doors. After the storm passes, be on the lookout for dangers that storm damage may have left behind.
Potential hazards include:
- Structural damage
- Electrical hazards
- Sharp debris
- Contaminated water
- Mold growth
- Gas leaks
Before entering any room or inspecting the damage, make sure that it’s safe to do so. Most importantly, if you have any doubts about the structural integrity or electrical safety of your home, wait for a professional to arrive.

STEP 2: Document Storm Damage
Once the storm is over and everyone is out of harm’s way, the next step is to document the damage. Careful documentation not only helps you to understand the extent of the damage, but is also crucial when filing insurance claims. Insurance companies rely heavily on evidence. And this makes any documentation you can get extremely helpful.
Documentation serves as your visual and written testimony. It gives a detailed account of the damage. This includes structural damage, possessions affected, and any temporary repairs that were made to prevent further damage. Without proper documentation, any of this can become challenging to prove. The results could potentially be delays or denials in the claims process.
Tips for Good Documentation
- Capture the Big Picture: Begin by taking overall shots of each affected area. This gives context and helps insurance adjusters understand the total impact.
- Focus on Details: Zoom in on specific damage. Capture close-up shots of any structural issues, broken windows, or damaged possessions. These details make your claim clearer.
- Use Annotations: When taking photos, try adding annotations or descriptions. Highlight specific damages or details that might not be obvious in the pictures.
- Create a Written Inventory: In addition to photos, keep a written inventory of damaged items. Keep track of their original value, age, and any details that can support your claim.
- Date and Time Stamp: Make sure that your photos have date and time stamps to establish when the damage happened. This makes your documentation more believable.
- Include Before-and-After Comparisons: If possible, provide before-and-after photos of your property. This comparison highlights the impact of the storm on your home.
STEP 3: Contact Insurance
Now that you’ve documented the storm damage, the next step is reaching out to your insurance provider quickly. It’s important not to wait on this one. Insurance companies often have specific timelines for reporting damage, so the sooner you get in touch, the better.
A Guide for Contacting Your Insurance Provider:
- Locate Your Policy Information: Before making the call, have your insurance policy details handy. This includes your policy number and any contact information for your insurance company.
- Give Prompt and Accurate Information: When speaking with your insurance representative, be ready to describe the damage accurately. Include details such as when the storm occurred, the areas affected, and any steps you took to prevent further damage.
- Submit Your Documentation: Remember the detailed documentation you prepared in Step 2? This is where it comes into play. Share the photos, notes, and any other documentation you gathered to support your claim. This helps your insurance company understand the situation better.
- Ask About Next Steps: Ask for information about the next steps in the claims process. This might involve an insurance adjuster assessing the damage in person- or you might need additional information for claim processing. Try to stay active and involved. The more informed you are, the smoother the process will be.
It’s important to note that when hiring a contractor to repair your storm damage, try to find one who is willing to spend time working with your insurance. It’s best to find a local professional who is likely to have worked with your insurance company before.
STEP 4: Temporary Repairs
After you get off the phone with your insurance provider, it’s time to get to work making temporary repairs. These quick fixes can protect further damage to your home while you wait for the help of a professional.
Here are some examples of common temporary fixes:
- Covering Broken Windows: If your windows are damaged, cover them with plastic or plywood to prevent rain, debris, or pests from entering your home.
- Tarping a Damaged Roof: For roof damage, use tarps to cover exposed areas. This helps prevent water leaks and further structural deterioration.
- Securing Loose Siding: If your siding is loose, secure it temporarily with screws or nails to prevent it from detaching completely.
- Addressing Water Leaks: Use buckets, towels, or containers to manage and collect water in case of leaks. Find the source of the leak and, if safe, attempt to contain it temporarily.
Remember, these fixes are temporary solutions to lessen immediate risks. They are not substitutes for professional repairs, but they can buy you time until experts arrive.
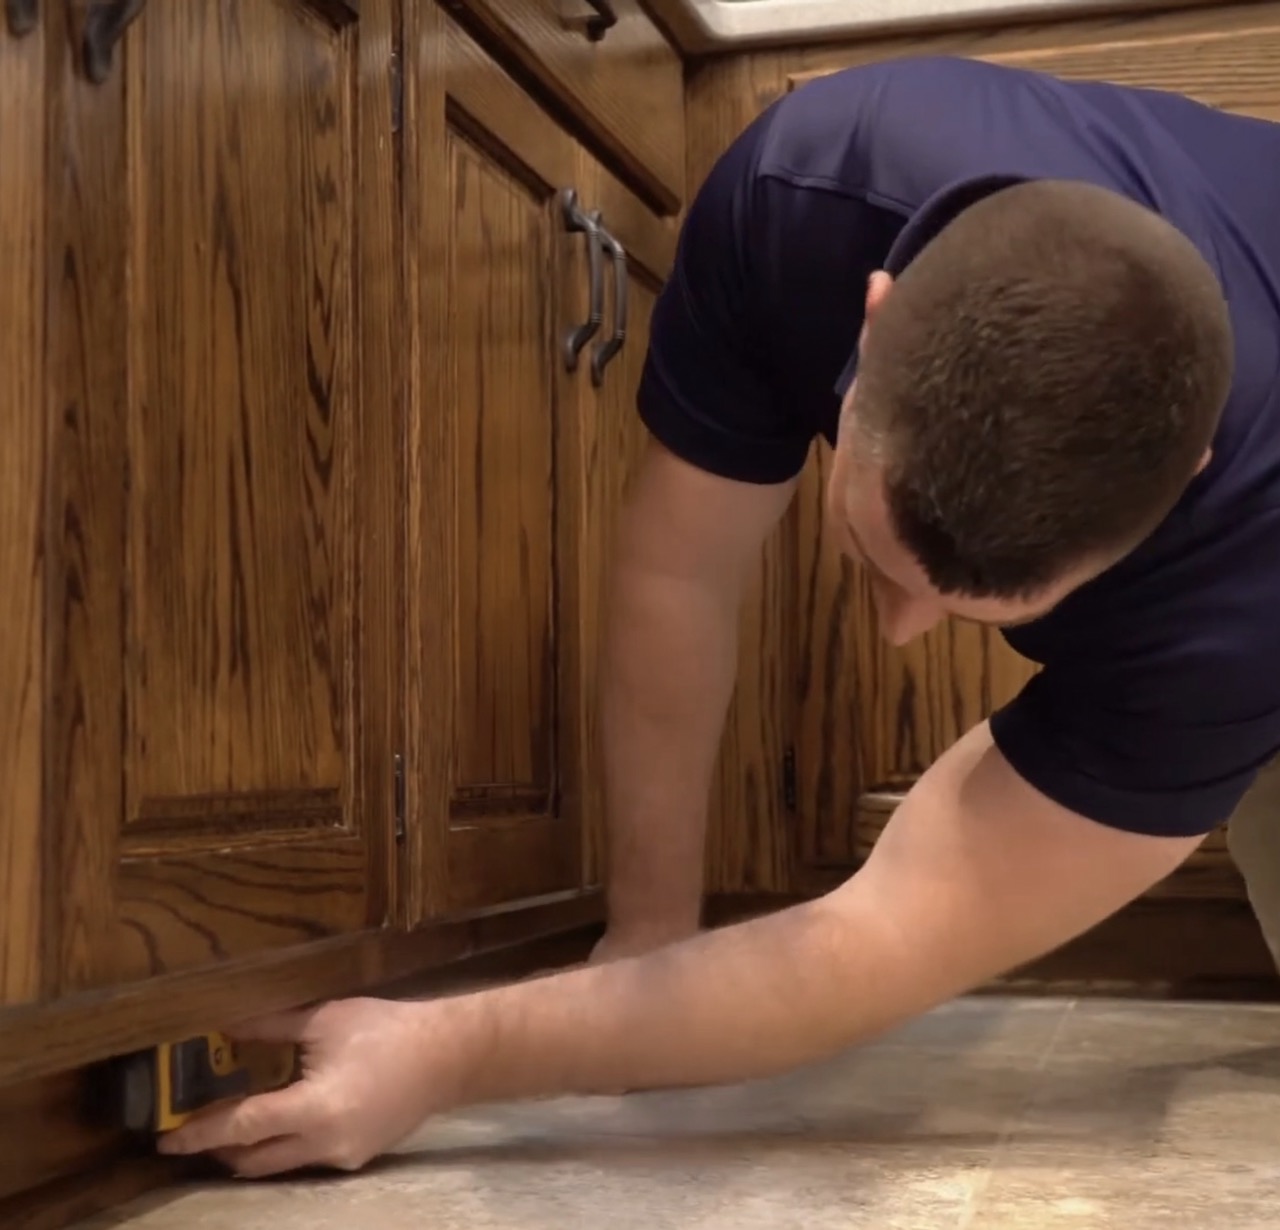
STEP 5: Professional Assessment
With quick repairs in place, you’re ready to call in the professionals. Getting a professional assessment will give you (and your contractors) reliable information about the scope of the damage. It will also allow you get a detailed recovery plan in place.
A trained professional brings insight and experience. Experts can identify hidden issues that may not be obvious, and provide a report on the structural integrity of your home. This information is incredibly valuable for both your insurance claim and the overall restoration process.
A Few Tips on Choosing a Professional:
- Check Credentials: Look for professionals with credentials and certifications in areas such as home inspection, structural engineering, or general contracting.
- Verify Licensing and Insurance: Make sure that the professionals you choose are licensed and adequately insured. This protects you in case of any unforeseen issues during the assessment.
- Read Reviews: Check online reviews and testimonials from previous clients. This can tell you a lot about the professionalism and reliability of the experts you’re considering.
What To Expect During an Assessment
- Thorough Inspection: Professionals will thoroughly inspect your property, looking at both visible and hidden storm damage.
- Documentation: Expect them to document what they find with notes and, in some cases, more photographs. This documentation can serve as supporting evidence for your insurance claim.
- Detailed Report: Professionals will give you a detailed report outlining the damage and required repairs. It will also provide an estimated timeline and cost for restoration. This report is crucial for both your insurance company and any contractors you may hire.
STEP 6: Restoration Plan
Now that you have a clear understanding of the storm damage through professional assessment, it’s time to develop a restoration plan. This plan serves as your roadmap. It outlines the tasks ahead and sets priorities for a systematic and efficient recovery process. Here’s a guide to help you organize and prioritize the restoration efforts:
- Assess the Professional Report: Start by reviewing the detailed report provided by the professionals after the assessment. This document will serve as your foundation, outlining the specific damages, required repairs, and estimated timelines.
- Categorize Tasks: Break down the restoration tasks into categories such as structural repairs, electrical work, plumbing, and cosmetic repairs. This categorization helps in organizing and prioritizing tasks based on urgency and importance.
- Set Priorities: Identify tasks that require immediate attention to prevent further damage or ensure safety. These could include repairing a damaged roof, addressing structural issues, or mitigating water damage.
- Timeline and Sequencing: Create a timeline for each category of tasks, outlining when each repair or restoration effort should ideally take place.
- Budget Allocation: Estimate the budget needed for each task. Be realistic about costs.
- Engage Contractors: If professional help is needed, start engaging contractors early. Get a quote, check their references, and make sure that they are available within your planned timeline.
Wrapping Up
Navigating storm damage can be overwhelming. But armed with the right knowledge and a systematic approach, your home can end up being even better than before.
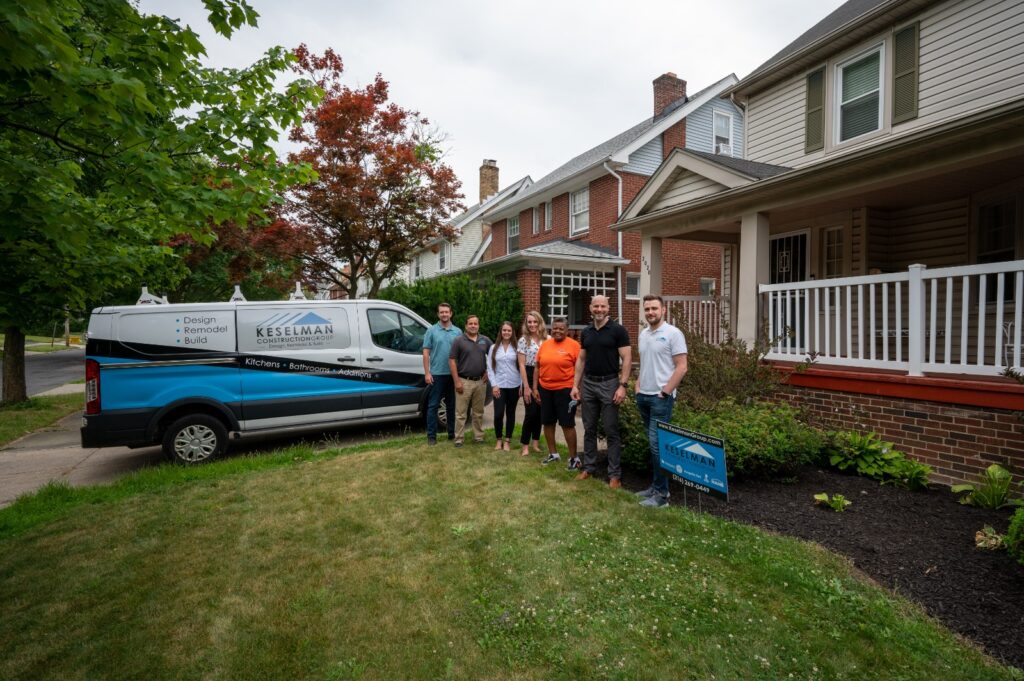
At Keselman Construction Group, we understand storm damage in Cleveland. Our team of experienced professionals is ready to lend a helping hand, guiding you through every phase of the recovery process. Whether you need a thorough assessment, expert repairs, or help in developing a restoration plan, we’re here for you.
Your well-being and the safety of your home are our top priorities. Don’t hesitate to reach out and let us be a part of your storm damage recovery journey. Contact Keselman Construction Group today, and let’s work together to rebuild and strengthen your home against the challenges that tomorrow could bring.
Learn more about our damage restoration services in the Greater Cleveland Area.